Introduction: Your iPhone — The Pocket Vault You Didn’t Know You Had
Ah, cryptocurrency — the magical digital money that’s either making millionaires or giving people stress headaches, depending on the day. Whether you’ve been stacking Bitcoin since 2012 or just bought your first $50 worth of Ethereum because your friend said “it’s the future, bro,” one thing is certain: you need to store it safely.
And if you’re an iPhone user, you already have one of the most secure mobile ecosystems to do it. Apple doesn’t just build phones that look good — they build tiny fortresses disguised as shiny gadgets. With Face ID, encryption, and secure enclave technology, your iPhone can be a trustworthy sidekick for crypto storage — if you know what you’re doing.
This guide will help you understand how to safely store cryptocurrency on iPhone wallets, avoid rookie mistakes, and make sure your digital fortune doesn’t vanish faster than your paycheck after a big sale on Amazon.
Understanding iPhone Crypto Wallets: What They Are and How They Work
Before we dive into the “how,” let’s make sure we understand the “what.”
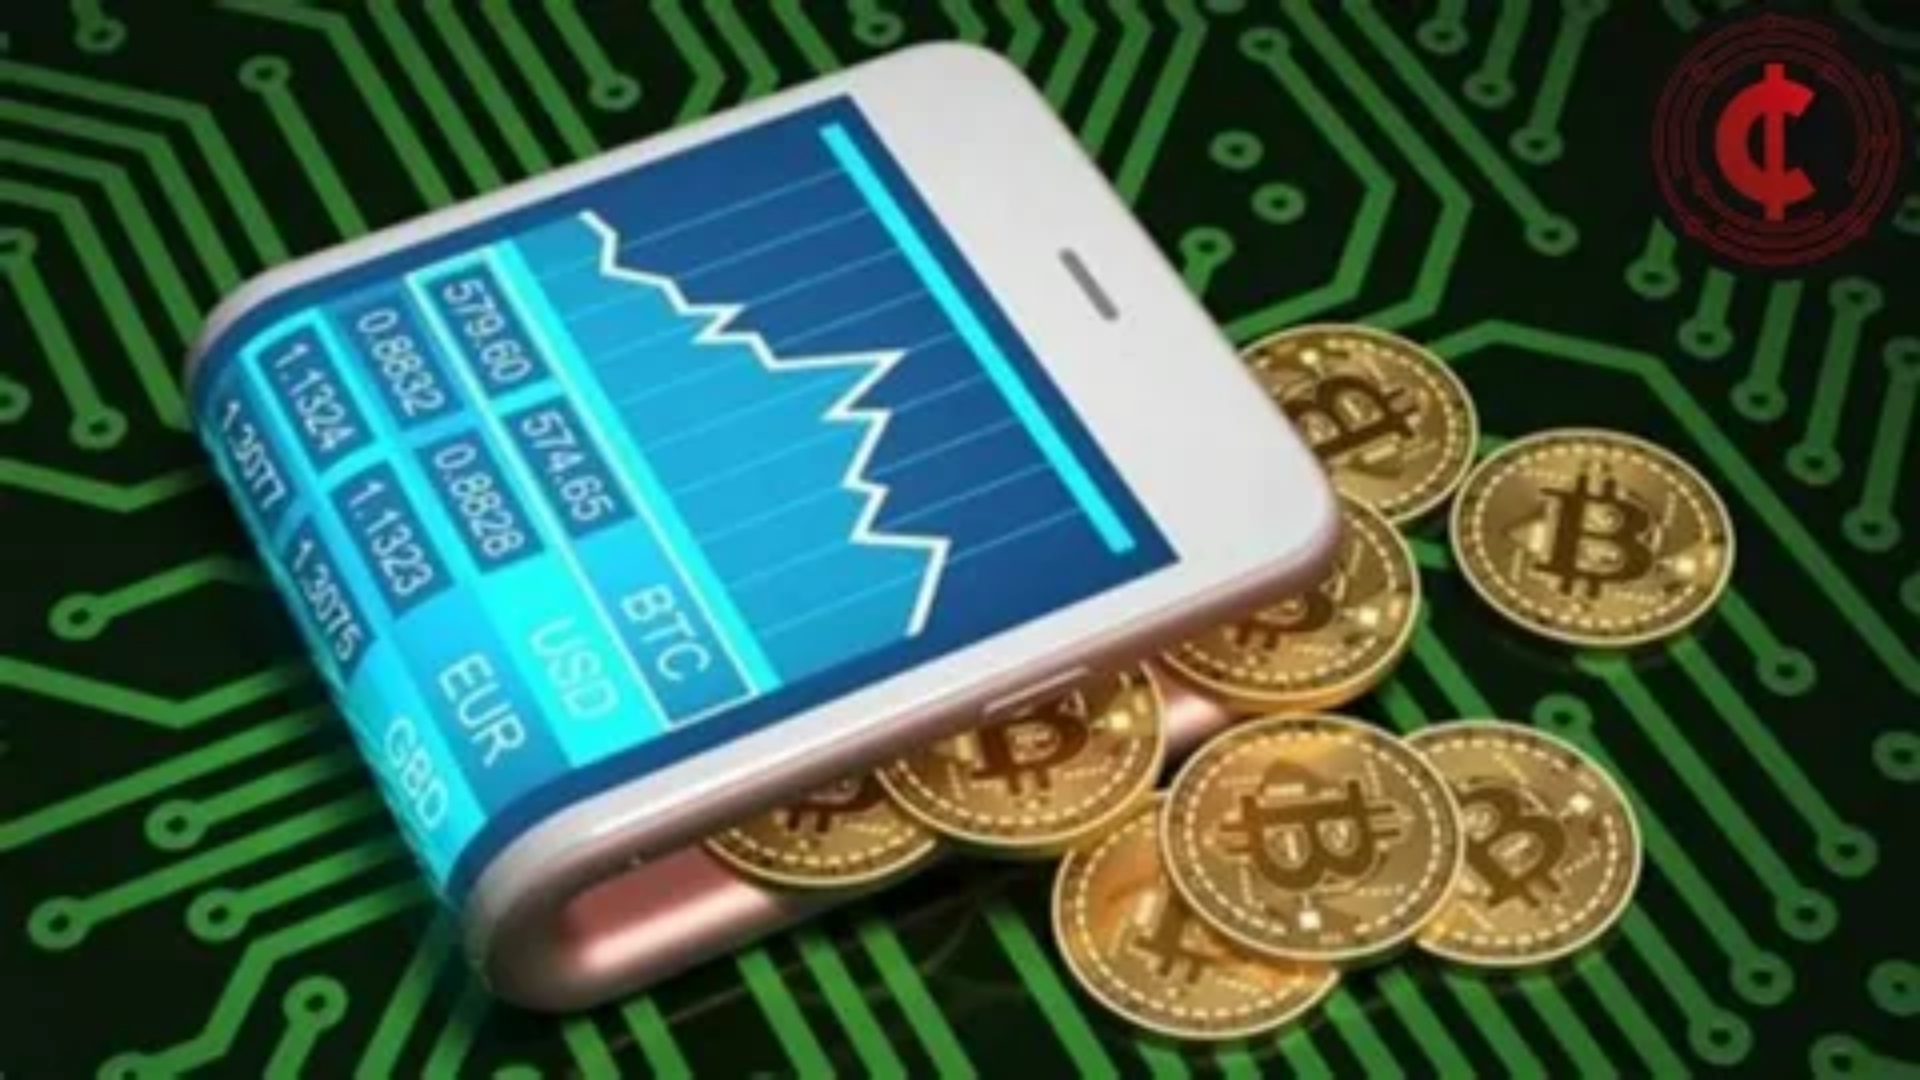
A crypto wallet isn’t a leather thing that sits in your pocket. It’s a digital tool that lets you store and manage your cryptocurrencies. On your iPhone, this usually comes in the form of an app — like Trust Wallet, MetaMask, or Coinbase Wallet.
But there’s a catch: your crypto isn’t technically stored in the wallet app. The wallet simply holds the private keys — long strings of cryptographic code that prove your ownership of your coins on the blockchain. Lose those keys, and it’s like forgetting your ATM PIN forever… but worse, because there’s no “Forgot Password” button for Bitcoin.
Types of Wallets on iPhone
| Wallet Type | Description | Example Apps |
|---|---|---|
| Hot Wallets | Connected to the internet; easy to use but slightly more vulnerable to hacks. | Trust Wallet, MetaMask, Coinbase Wallet |
| Cold Wallets | Offline storage; the Fort Knox of crypto. Usually requires an external device. | Ledger Nano X (works with iPhone via Bluetooth) |
| Custodial Wallets | Your keys are stored by a company. Easier for beginners, but less control. | Coinbase, Binance |
| Non-Custodial Wallets | You hold the keys. Greater control, but full responsibility. | MetaMask, Trust Wallet |
In short:
-
Hot = convenient but riskier.
-
Cold = ultra-secure but less handy.
-
Custodial = company-controlled.
-
Non-custodial = you’re your own bank (and possibly your own IT department).
Step One: Choose the Right Wallet for Your Needs
Let’s be honest — there are more crypto wallets than there are Starbucks drinks. But not all are equal, especially when it comes to iPhone users.
Here’s how to pick the best one for your situation:
1. Beginner-Friendly Options
If you’re new to crypto, start simple.
-
Coinbase Wallet – Clean interface, easy setup, integrates directly with Coinbase Exchange.
-
Trust Wallet – User-friendly, supports many tokens, and backed by Binance.
2. For Experienced Users
If you’re more comfortable dealing with private keys:
-
MetaMask – Great for Ethereum and Web3 apps.
-
Ledger Nano X + Ledger Live App – Combines cold storage security with iPhone convenience.
3. For the Security-Obsessed
If you sleep with your phone under your pillow because you’re scared of hackers:
-
Ledger Nano X or Trezor (via iPhone browser integration) – Hardware wallets that never expose your private key to the internet.
Step Two: Secure Your iPhone Before You Secure Your Crypto
Let’s be real — having a secure crypto wallet on an unsecured phone is like locking your front door but leaving the windows wide open.
Here’s how to turn your iPhone into Fort Knox before adding any crypto wallet:
1. Use Face ID or Touch ID
Face ID isn’t just for selfies — it’s your first line of defense. Always enable biometric authentication.
Go to Settings → Face ID & Passcode → Turn On.
2. Use a Strong Passcode
“1234” and “0000” are not passcodes, they’re invitations. Set a long alphanumeric passcode if possible.
3. Turn on Find My iPhone
If you lose your device, Find My iPhone can help lock or erase it remotely — critical if you’ve got wallets installed.
4. Keep iOS Updated
Apple releases security updates faster than crypto prices can crash. Always install them.
5. Disable Unnecessary App Permissions
Your crypto wallet doesn’t need access to your contacts or Bluetooth unless specified. Trim the permissions like you’d trim a bad haircut.
Step Three: Backup Your Recovery Phrases Properly
This is the most important rule in crypto: If you lose your seed phrase, you lose your money.
Every wallet gives you a 12- or 24-word recovery phrase — the “master key” to your funds. If your phone gets lost, stolen, or dunked in your morning coffee, this phrase is your lifeline.
Best Practices for Backing Up Your Seed Phrase
-
Write it down on paper. Don’t screenshot it, don’t save it to Notes, and definitely don’t email it to yourself.
-
Store it offline in multiple safe locations. Maybe one in your house, one in a safe deposit box.
-
Consider using a metal backup plate. Fireproof, waterproof, and hacker-proof.
-
Never share your seed phrase. Not with “tech support,” not with your best friend, not even with your dog.
If someone asks for your seed phrase, that’s your cue to run faster than Bitcoin dropped in 2018.
Step Four: Enable Two-Factor Authentication (2FA)
Even if your wallet app supports Face ID, add an extra layer. Use apps like Authy or Google Authenticator instead of SMS codes (because SIM swapping is a thing — and it’s as scary as it sounds).
Recommended Setup
| Platform | 2FA Type | Recommended App |
|---|---|---|
| Coinbase | Time-based | Authy |
| Binance | App-based | Google Authenticator |
| Crypto.com | App-based | Authy |
| WalletConnect-enabled DApps | Use wallet’s own biometrics | Built-in |
Step Five: Understand the Difference Between Hot and Cold Storage
Let’s revisit this because it’s crucial.
Hot wallets (apps on your iPhone connected to the internet) are perfect for small, everyday crypto amounts — think of them as your digital checking account.
Cold wallets (like a Ledger Nano X) store your crypto offline and are ideal for long-term holdings.
Quick Analogy
-
Hot wallet = cash in your pocket.
-
Cold wallet = cash in a safe.
You don’t walk around with all your savings in your jeans, right? (If you do, we need to talk.)
Step Six: Be Careful with DApps and Web3 Connections
Decentralized apps (DApps) and Web3 platforms can connect directly to your wallet. While it sounds fancy, it can also be risky.
What to Watch For
-
Only connect to verified websites (always double-check URLs).
-
Disconnect from DApps you no longer use.
-
Avoid random “airdrops” — 90% of them are scams or phishing attempts.
Example: If a DApp asks for unlimited access to your funds, it’s like someone asking for your car keys “just to check something.” Don’t do it.
Step Seven: Don’t Store All Your Crypto in One Place
Diversification isn’t just for investments — it’s for wallets too.
Split your holdings across different wallets or platforms. That way, if one gets compromised, you’re not crying over your entire portfolio.
| Storage Type | Ideal Use | Example |
|---|---|---|
| iPhone Hot Wallet | Small trading or daily transactions | Trust Wallet, MetaMask |
| Hardware Wallet | Long-term storage | Ledger Nano X |
| Exchange Wallet | Active trading | Coinbase, Binance |
| Custodial Savings | Earning interest | Crypto.com Earn, Nexo |
Step Eight: Watch Out for Fake Apps
Apple’s App Store is pretty secure, but scammers are creative. Always download wallet apps from official developer links or the verified App Store listing.
Red flags:
-
The app has almost no reviews.
-
The developer name looks sketchy.
-
The logo looks “off.”
If you see “Coinbse” instead of “Coinbase,” that’s not a typo — it’s a trap.
Step Nine: Turn Off iCloud Backups for Wallet Apps
Some wallets store sensitive data locally. If you back them up to iCloud, a hacker accessing your iCloud account could potentially compromise your funds.
Go to Settings → [Your Name] → iCloud → Manage Storage → Backups, and exclude your wallet apps from auto backup.
Remember: Your seed phrase is your backup. Not iCloud.
Step Ten: Keep an Eye on Phishing and Scams
Crypto is full of scammers who’ll promise you the moon and deliver dust. Stay skeptical.
Common Scams
-
Fake support teams — No real support agent will ever ask for your seed phrase.
-
Phishing links — Never click wallet-related links in random emails or DMs.
-
Free token airdrops — If it sounds too good to be true, it probably is.
When in doubt, verify on official sites or forums before interacting.
Step Eleven: Use a VPN When Managing Crypto on Public Wi-Fi
Public Wi-Fi is like free coffee — convenient, but often terrible for your security. Hackers can sniff unencrypted traffic, and while iOS encrypts a lot, it’s still safer to use a VPN (Virtual Private Network).
Recommended VPNs for iPhone:
-
ProtonVPN (free tier available)
-
NordVPN
-
ExpressVPN
They encrypt your connection and make it harder for anyone to snoop on your financial activity.
Step Twelve: Regularly Audit Your Wallet Activity
Just like checking your credit card statement for that “mysterious $9.99 charge,” check your wallet activity weekly.
-
Review transactions
-
Remove unused DApp connections
-
Update your wallet apps
-
Reconfirm that your recovery phrase is safe and accessible
Pro tip: Set a calendar reminder — “Crypto Security Checkup Sunday.” It sounds nerdy, but it could save you from disaster.
Bonus: How to Set Up a Ledger Nano X with iPhone
-
Purchase the Ledger Nano X from the official Ledger site (no eBay, please).
-
Download Ledger Live from the App Store.
-
Pair your Ledger via Bluetooth.
-
Initialize it, write down the 24-word phrase, and set a PIN.
-
Use Ledger Live to manage Bitcoin, Ethereum, and other coins safely.
Cold storage + iPhone convenience = crypto happiness.
Extra Tips for iPhone Users Who Love Convenience
-
Use Widgets: Some wallet apps offer widgets that display prices and portfolio values on your home screen.
-
Siri Shortcuts: Create shortcuts like “Check Bitcoin Balance” if your wallet supports it.
-
Dark Mode: Saves battery and looks cooler while checking your portfolio during market crashes.
Quick Summary Table: Do’s and Don’ts
| Do’s | Don’ts |
|---|---|
| Write down your recovery phrase. | Screenshot or email your seed phrase. |
| Use Face ID and 2FA. | Use public Wi-Fi without VPN. |
| Keep iOS and wallet apps updated. | Ignore software updates. |
| Disconnect unused DApps. | Leave permissions “always on.” |
| Split funds across wallets. | Store everything in one place. |
Conclusion: Keep Calm and Secure Your Coins

Storing crypto on your iPhone isn’t rocket science — but it does require a bit of care and common sense. Think of it like owning a safe: the safe is strong, but only if you don’t leave the key lying around.
Apple gives you world-class security, and crypto wallets give you financial freedom. Combine them wisely, and you’ve got the best of both worlds — power and protection in your pocket.
And remember: the blockchain never forgets, but your phone can get lost, stolen, or dropped into a pool. So, keep backups, stay updated, and treat your crypto wallet with the same love you give your morning coffee — with attention and care.
Final Thought
Your iPhone can do many things — text your mom, order pizza, take great selfies — but with the right setup, it can also safeguard your financial future. Be smart, stay cautious, and don’t let a hacker buy a Lamborghini with your coins.
Because in crypto, you’re not just an investor. You’re the bank. And now, your iPhone? That’s your digital vault.


