Introduction: Why your iPhone is a tiny finance superhero
Your iPhone fits in your pocket, recognizes your face, and will probably judge your taste in playlists. But it’s also one of the most powerful tools for managing money you’ll ever own. Between Apple’s Wallet, iCloud security, and a huge ecosystem of finance apps, you can pay, track, save, invest, and protect your money without printing a single spreadsheet (hallelujah).
This guide walks you step-by-step, in plain language, with practical “do this now” tips. I’ll sprinkle a little humor so the money stuff doesn’t feel like taxes instructions written by a robot. Ready? Let’s turn your iPhone into a calm, money-managing sidekick.
Getting your financial basics set up on iPhone
Apple ID, Two-Factor Authentication, and security keys
Before you do anything money-related on your iPhone, lock down your Apple ID. This is the account that links iCloud, Wallet, App Store purchases, Apple Cash, and many apps. Turn on Two-Factor Authentication (2FA) so nobody can silently log in with your password and go on a shopping spree. Apple also supports security keys for Apple ID — physical or device-based keys that make account takeover dramatically harder. Follow Settings → [your name] → Sign-in & Security to enable these. Apple Support+1
Why this matters: If your Apple account is compromised, thieves can add cards to Wallet or approve purchases. 2FA is a low-friction, high-value defense.
iCloud Keychain and Passwords
Use iCloud Keychain to generate and securely store complex passwords for your bank and finance apps. It autofills credentials in Safari and apps, so you won’t be tempted to reuse “Password1234” (please don’t). On iPhone go to Settings → Passwords; turn iCloud Keychain on and review saved passwords occasionally. Apple Support
Quick tip: If a site asks you to create a password, tap the suggested strong password. It’s better than your memory and does the job faster than arguing with yourself.
Privacy and iCloud+ features
iCloud+ offers extras like Private Relay (helps hide browsing details in Safari) and higher storage. For financial privacy — e.g., researching loan rates or credit card offers — iCloud+ can add a layer of privacy when using Safari. That’s useful when you don’t want targeted ads following every mortgage search you make. Apple Support
Using Apple Wallet, Apple Pay, Apple Cash, and Apple Card
Set up & quick uses
Apple Wallet is the central hub. Add debit or credit cards, transit passes, boarding passes, and your Apple Cash card. Apple Pay allows you to tap and pay in stores, apps, and websites. Apple Cash is a digital card in Wallet for sending and receiving money in Messages or Wallet. Apple’s Wallet and Apple Pay are built into iPhone and designed to be private and secure. Apple+1
How to set up:
-
Open Wallet.
-
Tap the + button.
-
Choose Debit or Credit Card and follow the steps (or add Apple Cash).
-
Verify with your bank and you’re done.
Everyday money moves: tap, send, request
-
Tap to pay (Apple Pay): Hold your iPhone near a contactless reader, authenticate with Face ID or Touch ID, and you’re charged. No physical card needed. Apple
-
Send money with Apple Cash: In Messages, tap the Apple Pay button in a conversation, choose an amount, and send. The recipient gets Apple Cash in Wallet and can spend it or transfer it to a bank. Apple Support
Small habit: After each in-person purchase, glance at the Wallet transaction history. It’s fast and helps catch fraud early.
Apple Card basics and Wallet tricks
Apple Card lives in Wallet and is a credit card from Apple (issued by a partner bank). It has features like Daily Cash (cashback paid daily) and built-in spending insights and payment scheduling inside Wallet. You can manage balances, set up recurring payments, and see merchant categories. Apple Support
Pro move: Use the Apple Card’s spending categories to understand where most of your money goes — groceries, subscriptions, rideshare — then pair that insight with a budget app.
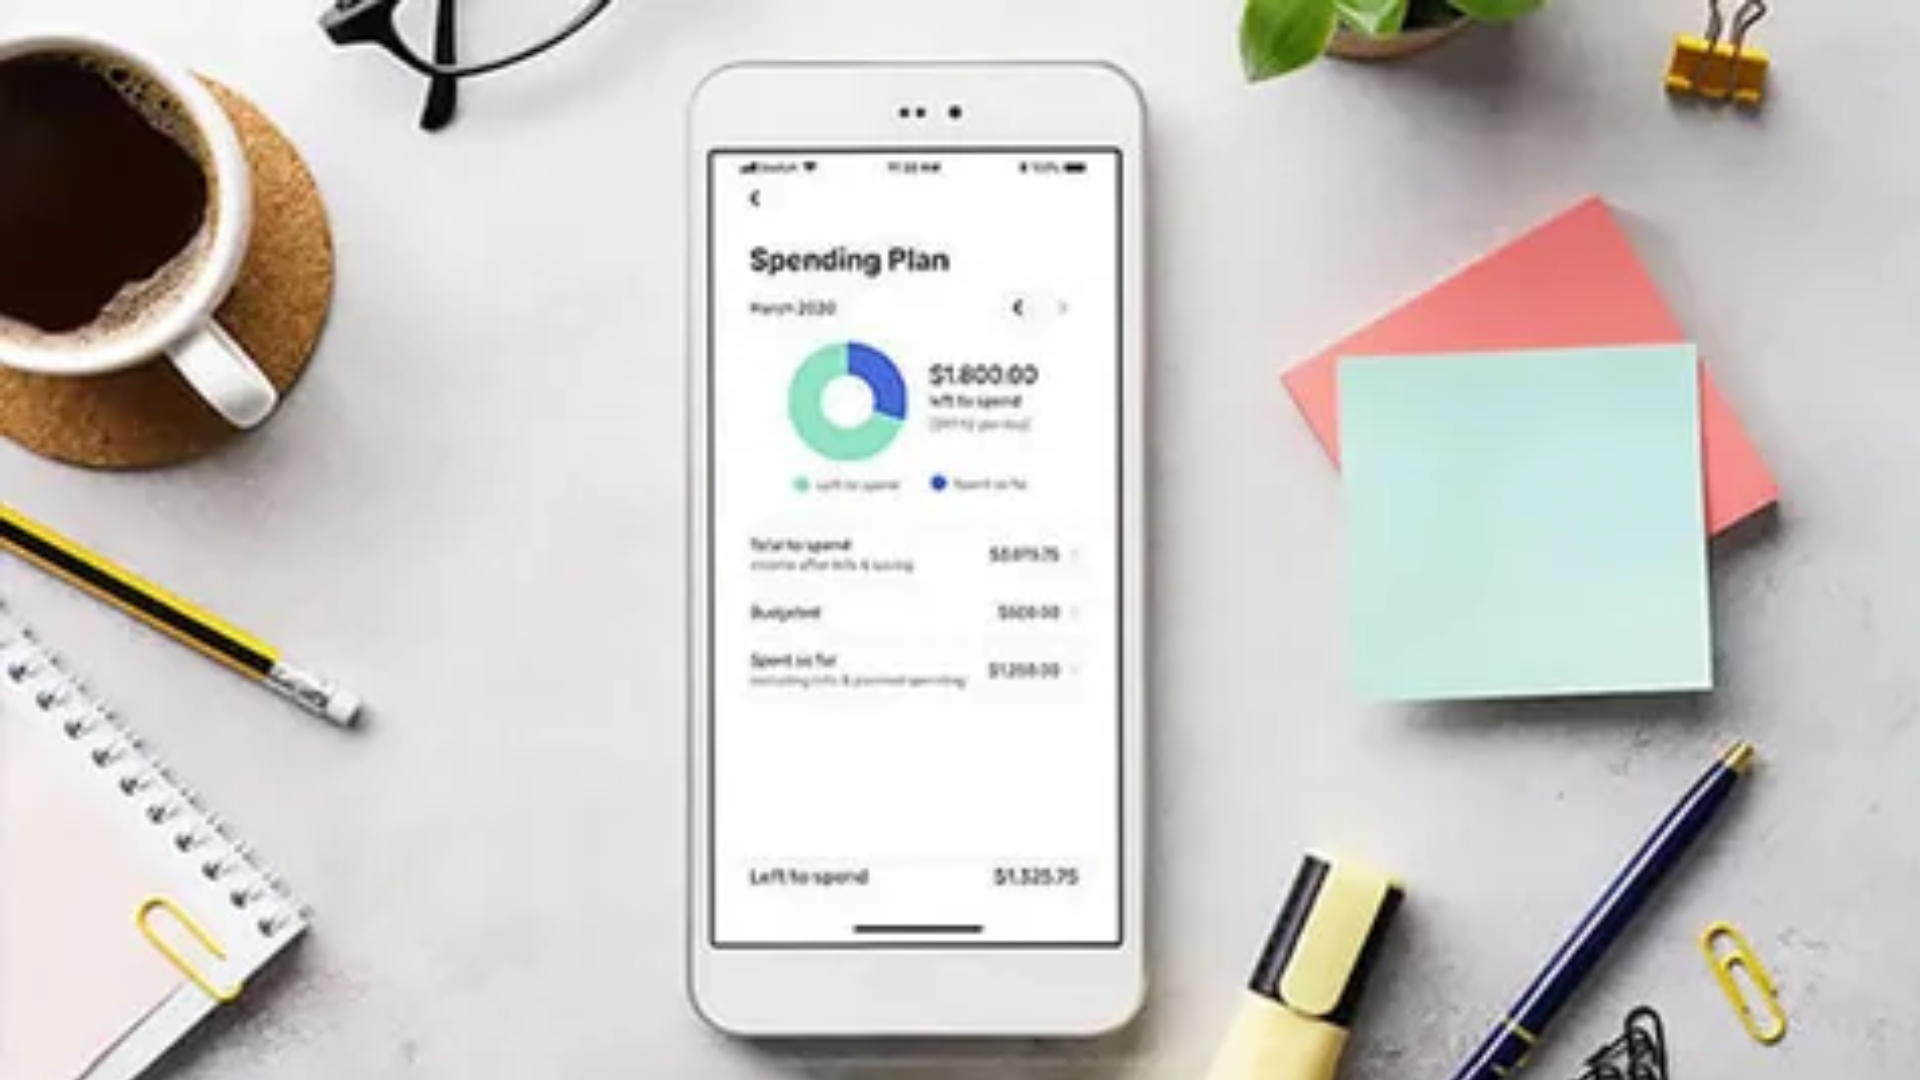
Budgeting & tracking spending on iPhone
Built-in tools and Smart Suggestions
iPhone’s Wallet and many bank apps now show categorized spending — very useful. Some banks surface “smart” notifications when a bill is due or when a big purchase happens. But for an overall budgeting system, dedicated apps win for tracking, planning, and habit building.
Top budgeting apps (Mint, YNAB, Monarch, Personal Capital/Empower)
There are many excellent budgeting apps. A few recurring top picks from reputable personal finance outlets include:
-
Mint — free, great for automated tracking and bill reminders.
-
You Need A Budget (YNAB) — hands-on, zero-based budgeting approach for active planners.
-
Monarch, PocketGuard, Goodbudget — other solid choices depending on needs.
-
Reviews and ranking lists (updated yearly) help choose the best app for your style. NerdWallet+1
Short comparison table (quick glance)
| App | Best for | Price model |
|---|---|---|
| Mint | Automated tracking + free overview | Free (ad-supported) |
| YNAB | Active budgeting, zero-based method | Subscription |
| Monarch | Modern UI, custom reports | Subscription |
| Empower (formerly Personal Capital) | Investments + net worth tracking | Free (wealth management paid) |
(This table simplifies; check each app’s privacy and connection methods before linking accounts.) NerdWallet+1
How to pick the right app for your style
-
If you want set-and-forget tracking: Mint or bank apps.
-
If you want to plan every dollar: YNAB.
-
If you care more about investments & net worth: Empower/Personal Capital.
-
If privacy is your priority: consider an app that supports manual entry (no bank linking) or has a strong privacy policy. Always read app permissions before connecting.
Simple step-by-step: set up a budget in 10–15 minutes (the “Do This Now” method)
-
Pick an app (Mint for automatic; YNAB for active).
-
Link checking and credit card accounts (or enter balances manually).
-
Create 5–7 core categories: Housing, Food, Transport, Utilities, Savings, Debt, Fun.
-
Set monthly targets for each.
-
Schedule one weekly 10-minute check to review progress.
This small routine beats a complicated spreadsheet you’ll abandon by March.
Paying, sending, and receiving money safely
Venmo, Cash App, PayPal, Zelle — short comparison
Each app has pros and cons. Here’s a compact overview to help you choose in a practical way.
P2P Quick Guide
-
Venmo — social feed style, easy to split bills, fees for credit card payments and instant transfers. Good for friends.
-
Cash App — simple, adds direct deposit and investing features; fees for instant transfers.
-
PayPal — globally accepted, often used for purchases and seller protections; fees for business transactions.
-
Zelle — bank-to-bank, usually no fees, very fast; traditionally used via bank apps since Zelle’s standalone app was discontinued on April 1, 2025. primewayfcu.com+1
Table: When to use which (practical)
| Use case | Best app |
|---|---|
| Splitting dinner with friends | Venmo |
| Sending money instantly bank-to-bank (no fees) | Zelle via your bank app |
| Buying/selling online with seller protection | PayPal |
| Quick pay + small investing | Cash App |
Fees and pitfalls to watch for
-
Credit card funding → often fees (e.g., Venmo charges for credit card use). Check fees before you hit send. Kiplinger
-
Instant transfers to bank accounts → usually a small fee; standard transfers often take 1–3 days.
-
Scams on social media: never pay someone via P2P for a purchase from a stranger. P2P apps usually have little buyer protection.
What the Zelle app change means (April 1, 2025)
Zelle discontinued its standalone app on April 1, 2025, moving activity to the participating banks’ apps instead. If you used the standalone Zelle app, you’ll now enroll through your bank’s mobile app or online portal. The network itself continues to process many transactions through banks. This change emphasizes using bank apps for Zelle payments. PYMNTS.com+1
Practical steps:
-
Check your bank’s app for Zelle enrollment.
-
Re-enroll if needed.
-
If your bank doesn’t support Zelle, use Venmo or Cash App as alternatives — but beware of fees and protections.
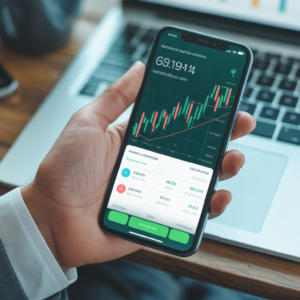
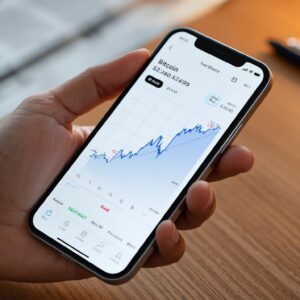
Managing investments and retirement from your iPhone
Robo-advisors and brokerage apps
Investing apps make it easy to manage retirement accounts and taxable brokerage accounts. Popular options include Vanguard, Fidelity, Schwab, Robinhood, Webull, and robo-advisors like Betterment and Wealthfront. Use apps that are reputable, show clear fee structures, and have FDIC/ SIPC protections where applicable.
Simple rules:
-
For retirement (401(k)/IRA), prioritize tax-advantaged accounts first.
-
Automate contributions: set recurring transfers from checking to brokerage or retirement accounts.
-
Keep fees low for long-term investing.
App features to use: fractional shares, recurring buys, watchlists
Fractional shares let you invest small amounts into expensive stocks. Recurring buys (dollar-cost averaging) help smooth volatility. Watchlists are useful to track ideas without committing money immediately.
Safety note: Don’t confuse app gamification (confetti for trades!) with good investing habits. The app wants you to trade; your long-term wealth prefers discipline.
Automating savings and bills
Rules, shortcuts, automations (Shortcuts app)
Apple’s Shortcuts app can automate finance actions. For example:
-
A shortcut that logs receipts to Notes when you take a photo.
-
A weekly shortcut that opens your budget app and shows this month’s spending.
Example “Auto-Save” idea: Use Shortcuts to transfer a small amount (e.g., $5) to your savings app by calling a dedicated bank app URL scheme — if supported. (Some banks expose limited shortcuts; check your app’s integration.)
Using Scheduled Transfers and AutoPay in Wallet & bank apps
Most banks let you schedule transfers and set up AutoPay for bills. Combine this with a sinking fund approach: create separate savings buckets for “Car insurance,” “Gifts,” etc., and auto-transfer small amounts into each.
Practical rule: Automate the hard parts — savings, debt payments — but keep discretionary spending manual so you stay aware.
Security checklist for finances on iPhone
Daily checks
-
Lock screen on and don’t share passcodes.
-
Check new card additions in Wallet occasionally.
Weekly checks
-
Open Wallet and glance at recent transactions.
-
Check notifications for unusual bank alerts.
Monthly checks
-
Review budget app categories and subscriptions you don’t recognize.
-
Run a quick password audit in Settings → Passwords and replace reused or weak passwords.
Enable Find My iPhone so you can lock or erase a lost device immediately.
Apple and security researchers recommend these practices; Apple’s ecosystem includes tools like Security Keys and Advanced Data Protection options. Apple+1
How to detect scams and protect yourself
Common scam signs:
-
Unexpected requests to add a payment method or give a one-time code.
-
Messages with suspicious links or poor grammar claiming to be your bank.
-
Social media offers that pressure immediate payment via P2P apps.
If you suspect fraud:
-
Contact your bank immediately.
-
Freeze your card via Wallet if supported.
-
Report the scam to the FTC at reportfraud.ftc.gov.
Fraud prevention is a shared responsibility — platforms and regulators are tightening rules, but users must stay vigilant. The Verge+1
Organizing receipts, taxes, and documents
Using Notes, Files, and scanning tips
iPhone’s Notes app has a scanning function: open a note → tap camera → Scan Documents. Save receipts as PDFs, tag them by month or category, and export to Files or a cloud drive. Good for freelance income, taxes, or reimbursements.
Organizing system (simple):
-
Folder: Receipts → 2025 → January
-
Name files like
2025-01-15-groceries-TraderJoes.pdf -
Keep digital copies + bank statements for at least 3–7 years depending on tax rules.
Apps that make taxes less scary
If you’re self-employed or have investments, tax apps like TurboTax, H&R Block, and TaxAct have iPhone apps to help file. For tracking deductible expenses throughout the year, consider MileIQ (mileage) or a simple spreadsheet synced to Files.
Advanced tips & power user tricks
Shortcuts recipes for finance tasks
A few Shortcuts ideas:
-
“Monthly overview” that opens Wallet, shows last 10 transactions screenshot, and opens your budget app.
-
“Receipt to Receipt Folder” that scans a receipt, names it, and uploads to a folder in Files.
-
“Quick Tip Jar” that transfers a small round-up amount to savings (if your bank app supports quick transfers).
Note: Shortcuts capabilities vary by bank app support and API availability.
Widgets, notifications, and watchful automation
Use widgets for Budget apps and bank balances on your Home Screen for a glanceable view. But don’t overdo alerts — too many notifications encourage reactive spending. Choose the top two alerts (e.g., large transaction & bill due) and silence the rest.
A simple 30-day plan to get financial control on your iPhone
Week 1 — Secure & Connect
-
Day 1: Set up 2FA + security keys for Apple ID. Apple Support+1
-
Day 2: Turn on iCloud Keychain and change weak passwords. Apple Support
-
Day 3–7: Link bank and card accounts to one budgeting app.
Week 2 — Budget & Automate
-
Create categories and set targets.
-
Set up at least one recurring transfer to savings.
Week 3 — Streamline Payments
-
Add cards to Wallet, enable Apple Pay, set up Apple Cash for family use if needed. Apple+1
-
Verify P2P apps (Venmo, Cash App) and understand fees.
Week 4 — Monitoring & Optimization
-
Set a weekly 10-minute review habit.
-
Scan last month’s receipts; tidy Files.
-
Reassess and tweak your budget categories.
This plan makes progress realistic and keeps the habit small but steady.
FAQ — Plain answers to common questions
Q: Is Apple Cash FDIC insured?
A: Balances in Apple Cash are not FDIC insured by Apple. When transferring to a bank, the bank’s protections apply. Always read the product terms. Apple Support
Q: Is Apple Pay safe?
A: Apple Pay is designed with security in mind — it uses tokenization and requires authentication (Face ID/Touch ID/passcode). But scams can still occur via phishing and social engineering, so don’t share codes or approve unexpected requests. Apple+1
Q: Which is best for splitting bills: Venmo or Zelle?
A: For casual splits with friends (with social features), Venmo is great. For bank-to-bank transfers with no fees and instant settlement, Zelle via your bank is best — note Zelle’s standalone app was discontinued April 1, 2025. primewayfcu.com+1
Q: Can I use Shortcuts to move money automatically?
A: Only if your bank app supports URL schemes or Shortcuts actions. Many banks limit what third-party automations can do. Test carefully and avoid automating large transfers without confirmation.
Conclusion: Keep it simple, keep it secure, and don’t forget to smile
Your iPhone can do a lot of heavy lifting for your finances: payments, budgets, investments, receipts, and security. The secret isn’t a fancier app — it’s consistent habits: check wallet activity, use strong passwords, automate savings, and keep up with basic reviews. Do those and you’ll be 80% of the way to financial peace of mind.
And remember: money is a tool, not a personality test. Treat it well, use your iPhone wisely, and reward yourself (within budget) — maybe with a fancy coffee that you paid for using Apple Pay because your phone made the whole thing ridiculously easy.
Key references & helpful official pages (quick links you can check)
-
Apple — Apple Cash & Apple Pay product pages and support. Apple+2Apple+2
-
Apple — Apple Card & Wallet support. Apple Support
-
Apple — iCloud Keychain and Two-Factor Authentication guides. Apple Support+1
-
PYMNTS / Payments industry coverage — Zelle standalone app change (April 1, 2025). PYMNTS.com+1
-
NerdWallet / Forbes — budgeting app overviews and best picks. NerdWallet+1
-
Consumer safety & fraud resources — Apple & security coverage. Apple+1
If you want, I can now:
-
Expand any section into a standalone deep-dive (e.g., full YNAB tutorial with screenshots), or
-
Build the 30-day plan as a printable checklist, or
-
Create Shortcuts recipes (written steps) you can paste into the Shortcuts app template.